Procedural Roadsigns is an asset pack for Unreal Engine that allows to create road signs like blinking arrows, crosses and lines. The pack contains assets that can be used out of the box but with the contained materials and material functions many many more road signs can be created. these may be used for player guidance, track limits, speed boost cues, direction hints, road blocks and more. Signs can be shown as plain shapes or in LCD display style.
Features
- Signs that can be made by combining 2 triangles, box and line shapes. Those shapes can be arranged in the material instances
- Coloring by gradient curves
- Blinking
- Color change (linke blinking just with color swap)
- Panning animation of the shape
- Repeat of shapes with setting to define how many to repeat and how many empty slots after (e.g. repeat 3 times, then 2 empty slots)
- LCD display style. Square or circular pixels. With pixel style animation that jumps a set amount of pixels per step
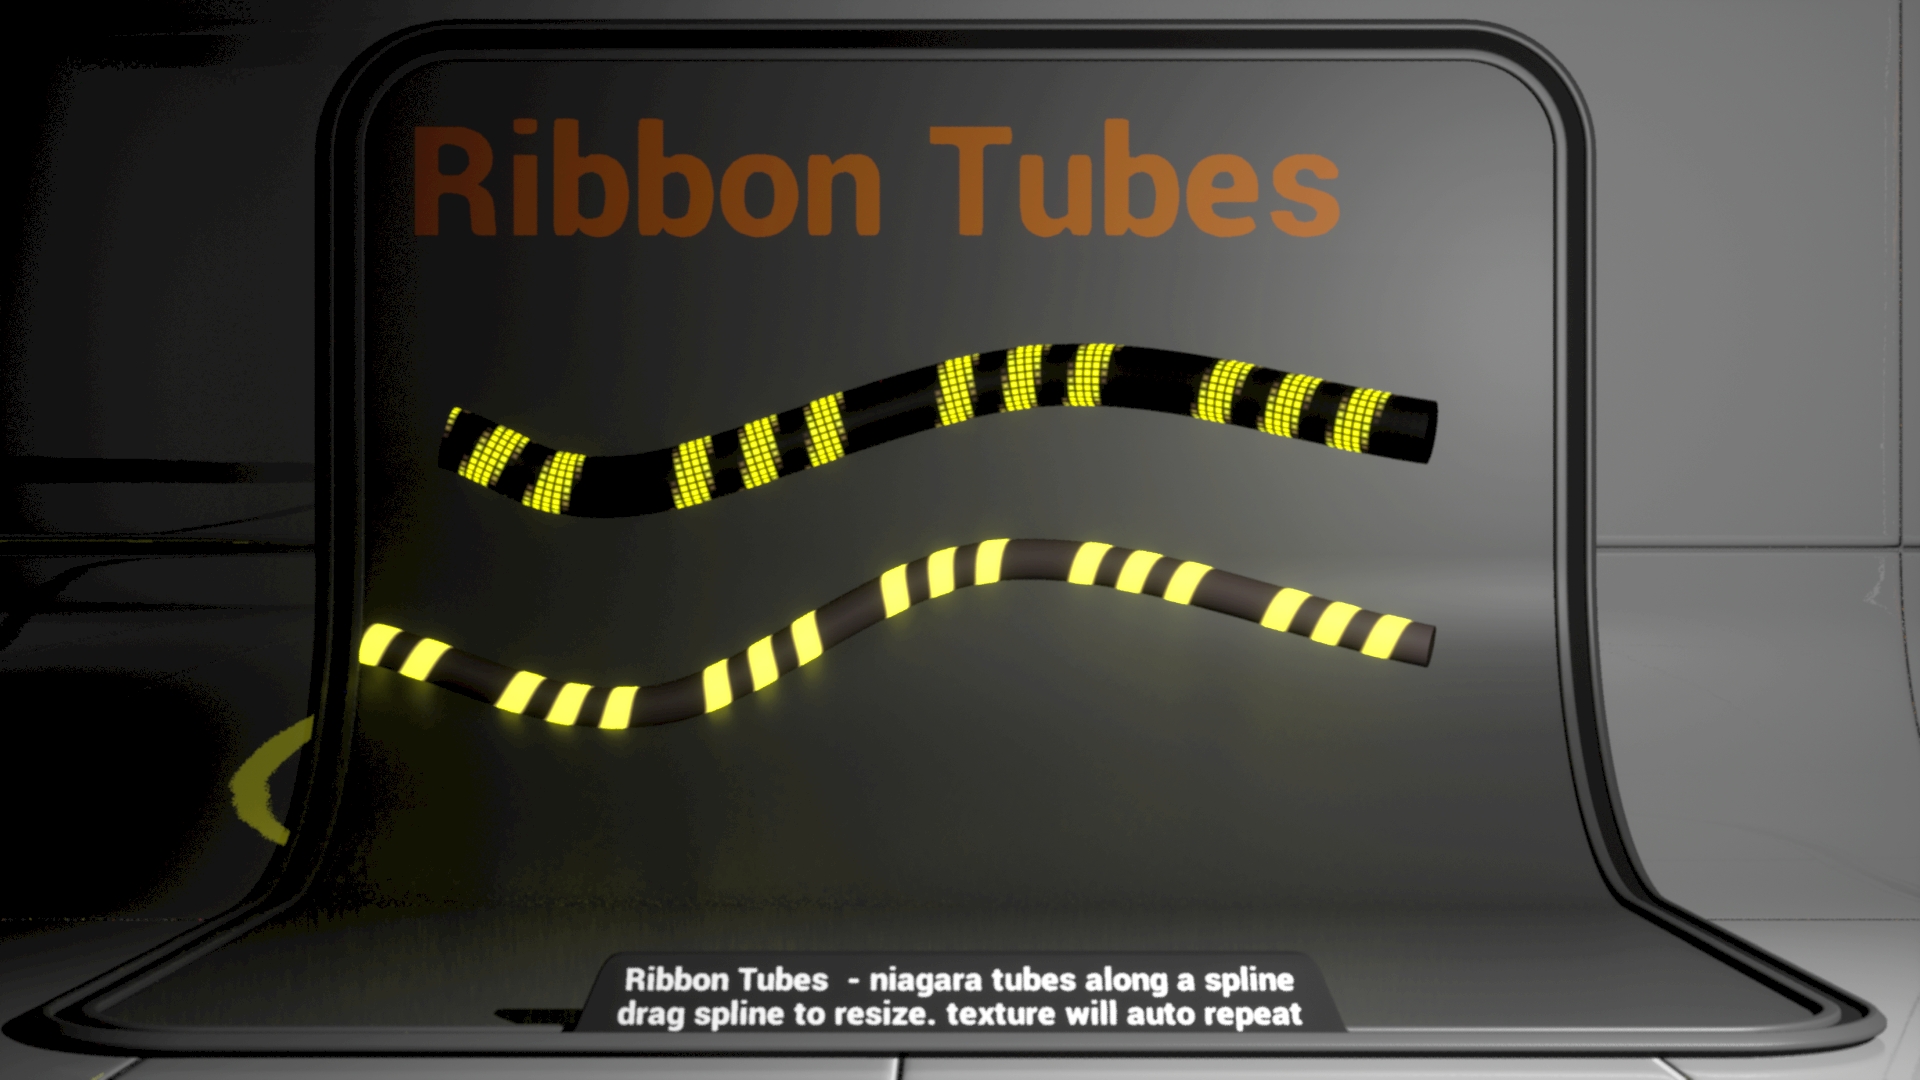
- Niagara ribbon actor. Creates a ribbon along the spline that is always facing the camera
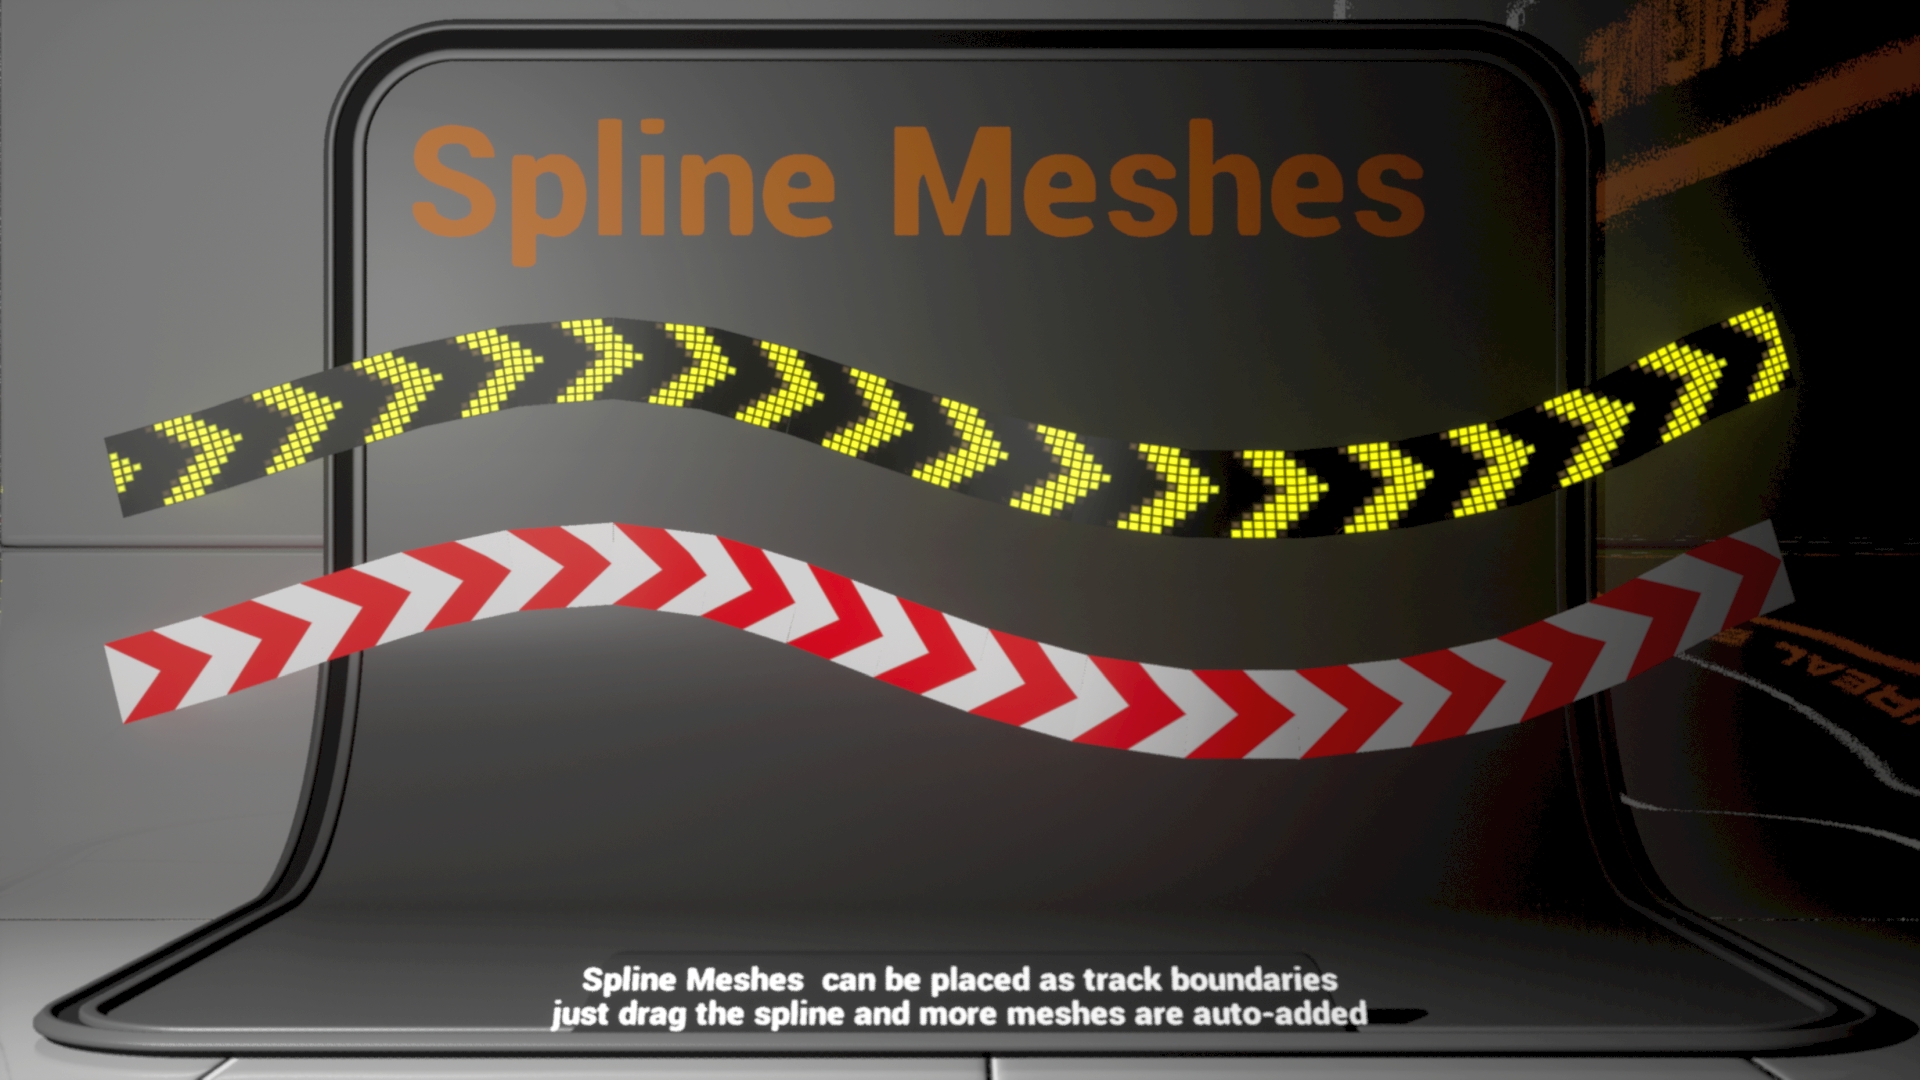
- Niagara tube actor. Creates a tube along the spline
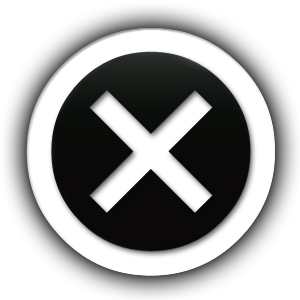
- Spline Mesh actor. Creates spline meshes along a spline with option to enable collision on the meshes
Example Props
A lot of props are contained in the pack, ready to use but many more can easily be created. With different shapes and in different colors and behaviors.

Content folders
- Blueprints: Contains the blueprint for the spline mesh actor
- ColorCurves: Most animations (blink, color change) and color gradients are defined by curves. the folder contains one curve atlas.
new curves can be added to the atlas to be used in the materials (simply select by dropdown there) - MaterialFunctions: Basic functions used to generate the procedural signs. Can be used to create more styles or for other purpose. The following functions are contained: rectangle, circle, triangle, rounded box, diamond, divide into cells, LCD grid, UV rotate
- MaterialInstances: Some example materials made with the master material. shows what can be done.
- Materials: Contains the master material. All instances are children of this. Contains a graph, made of the material functions with comments for readability
- Meshes: 2 planes that can be used with the spline mesh actor
- Niagara: Spline ribbon and tube to show how materials work with this.
Material Documentation
The core of this asset pack is the “M_RoadSignBand” material in the materials folder. The next sections explain how to use this material.
Shapes
The material lets you use 4 different shapes and combine them freely. This way you can get a great variety of different styles.
the shapes are:
- triangle 1
- triangle 2
- box 1
- bands
Each shape can be enabled by checkbox in the material(instance) editor. If not enabled, the shape does not contribute to performance as it is not calculated at all. The shapes have controls to scale, rotate, fill, border size, offset and some shapes have a cutout option which, when enabled, subtracts the shape from the other shapes instead. The material graph in the material editor is commented and structured so it is very easy to add more shapes if needed. The definition of the 4 shapes gives the contents of one cell (0-1 in UV space). These cells are repeated in each direction.
Item count
Can be enabled by checkbox and defines the repeating pattern of cells. If turned off, shapes are repeated endlessly in all directions.
ElementsOn = shown elements
ElementsOff = empty cells after the shown cells
Example: ElementsOn = 2, ElementsOff = 3 produces 5 cells with the first 2 painted and the later 3 empty
Global animation
Adds a global offset (panner) to the material and animation in x and y direction. x is always forward and y is always
perpendicular to x. To rotate the whole animation , use the global rotation paramater. Notice that if the LED Wall feature is enabled, the animation jumps in steps that are a multiple of the LED size to make it look like an actual LED display.
Blink
Uses a curve to define the blink cycle. The red channel of the curve is used to define the intensity over time. A hard cut makes it blink and a smooth curve makes it fade in smoothly.
Color cycle
Same as blink but switches colors. Also has a second color curve that is used as alternate color scheme. All channels of the color curves are used, including alpha channel for opacity (if the material is not set to opaque). The switch behavior is defined by curve, thus, it can be made instant or it can be a smooth transition.
Global
- ColorCurve: defines the colors of the shapes
- Diffuse & Emissive: defines diffuse and emissive part. LED walls should usually have an emissive of 1 or greater to glow.
- global rotation & scale: for quick resizing and rotating
- vertical mirroring: mirrors the shaped to achieve even more complex compound shapes
- scale with mesh: scales the material to the mesh. only works on meshes, not particles. When enabled and put on a mesh with x size 3, then
the material is repeated 3 times in the x direction. This way you can create long and short signs without worrying about the scale. Should be enabled unless you want to stretch the material in some way. - Hardness: sets the smoothness of the shape edges
LED wall
- LEDPixelSize: size of the pixel in the cell. 1 is full, 0 is none
- LEDPixelSizeX & Y: scales the pixel elements. 0.1 means 10 pixels are made in the direction from 0-1 in UV space
- LEDPixelStep: how many pixels are skipped in animation
- LEDPixelStrength: brightness of pixels
- LEDRectangular: otherwise round
- LEDDistanceFade & LEDFadeoutDistanceMin & LEDFadeoutDistanceMax: since the LED effect would produce some visual artifacts if viewed from far away, this option simply turns off the LED effect at a certain distance. To enable this fade out tick the checkbox. The fade out of the effect starts at the min distance and at the max distance it is fully turned off. As this can change the visual intensity of the material, be sure to adjust Emissive and LEDPixelStrength accordingly to get a smooth transition